Unleash Your Inner DIYer: Learn How to Install a Plunge Pool Kit
Posted by on 2024-11-25
Choosing the right location for your plunge pool
When it comes to installing a plunge pool kit in your backyard, one of the most important decisions you'll need to make is choosing the right location for it. The location of your plunge pool can greatly impact how much you enjoy and use it, so it's crucial to take some time to carefully consider your options.
First and foremost, you'll want to think about the overall layout of your backyard. Consider factors such as sunlight exposure, existing landscaping, and proximity to other outdoor features like patios or decks. You'll want to choose a location that is both visually appealing and convenient for you and your family to access.
Next, think about the ground where you plan to install the plunge pool. It's important that the area is level and stable in order to properly support the weight of the pool. You may need to do some grading or excavation work in order to create a suitable foundation for your new addition.
Additionally, consider factors such as privacy and noise levels when deciding on a location for your plunge pool. You'll want a spot that feels secluded and peaceful so that you can fully relax and unwind while taking a dip.
By taking the time to carefully choose the right location for your plunge pool, you can ensure that it becomes a beloved feature of your backyard oasis for years to come. So go ahead, unleash your inner DIYer and get ready to enjoy your new plunge pool in style!
Preparing the ground and setting up the foundation for the pool
If you're thinking about installing a plunge pool kit in your backyard, one of the first steps you'll need to take is preparing the ground and setting up the foundation. This crucial step will ensure that your pool is stable, level, and properly supported for years of enjoyment.
Start by selecting a suitable location for your plunge pool. Choose a spot that is level and free of any obstructions such as trees or large rocks. Once you've found the perfect spot, mark out the area where the pool will be placed using stakes and string.
Next, you'll need to excavate the area to create a base for your pool. Use a shovel or an excavator to remove any grass, soil, or debris from the site. Make sure to dig down to the required depth according to the manufacturer's instructions.
After excavating the area, it's time to compact the soil to create a solid foundation for your pool. Use a compactor or tamper to pack down the soil evenly across the entire site. This will help prevent any settling or shifting once your pool is installed.
Once you have prepared the ground and created a stable foundation, you can start assembling your plunge pool kit according to the provided instructions. Make sure to follow each step carefully to ensure that your pool is installed correctly and safely.
By taking the time to prepare the ground and set up a solid foundation for your plunge pool, you'll be well on your way to creating a relaxing oasis in your own backyard. So roll up those sleeves, grab some tools, and unleash your inner DIYer as you learn how to install a plunge pool kit!
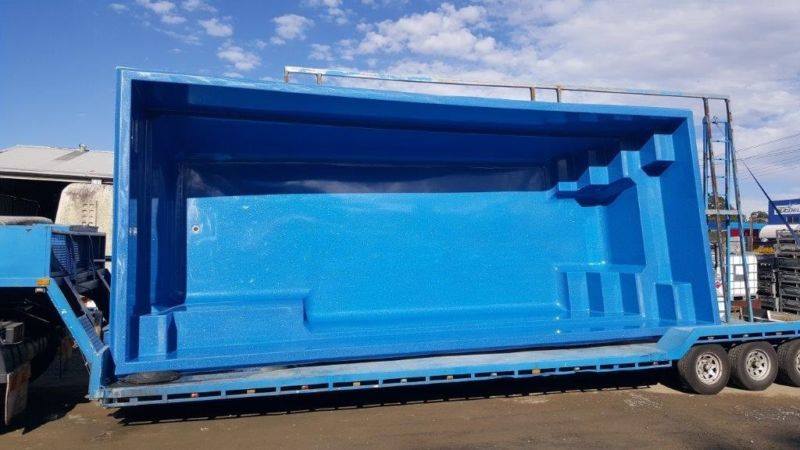
Assembling and installing the plunge pool kit
Assembling and installing a plunge pool kit can be an exciting DIY project for those looking to enhance their outdoor space. With some basic tools and a little bit of know-how, you can transform your backyard into a relaxing oasis in no time.
The first step in the process is to carefully unpack all of the components of the plunge pool kit and lay them out in an organized manner. This will make it easier to assemble the pool later on. Make sure to read through the instructions thoroughly before starting, as each kit may have slightly different steps for assembly.
Once you have familiarized yourself with the instructions, it's time to start putting the pool together. Some kits may require you to connect pieces using screws or bolts, while others may simply snap together. Take your time during this step to ensure that everything is secure and properly aligned.
After assembling the pool, it's time to prepare the area where you will be installing it. Make sure the ground is level and free of any debris that could potentially damage the pool liner. You may also need to install a base or foundation depending on the type of pool kit you have purchased.
Finally, carefully lower the plunge pool into place and fill it with water according to the instructions provided. Once filled, check for any leaks or issues with the installation before enjoying your new backyard retreat.
By following these simple steps, you can unleash your inner DIYer and create a beautiful plunge pool that you can enjoy for years to come. So roll up your sleeves, grab your tools, and get ready to transform your outdoor space into a relaxing paradise!
Filling and testing the water in your new plunge pool
So, you've finally taken the plunge and decided to install a plunge pool kit in your backyard. Congratulations on unleashing your inner DIYer! Now comes the exciting part - filling and testing the water in your new plunge pool.
Before you start filling up your pool, make sure to thoroughly clean the inside to remove any debris or dirt that may have accumulated during installation. Once it's nice and clean, it's time to fill it up with water. You can use a garden hose or a pump to do this - just make sure to monitor the water level as it rises.
As the water fills up, take this opportunity to test out all the features of your new plunge pool. Check that the filtration system is working properly, as well as any additional accessories such as jets or lights. Make sure everything is functioning as it should before you start enjoying your new backyard oasis.
Once the pool is filled and tested, it's time to sit back and relax. Grab a cold drink, put on some sunscreen, and soak in the tranquility of your new plunge pool. You've worked hard to install it yourself, so now is the time to enjoy the fruits of your labor.
Installing a plunge pool kit may have seemed like a daunting task at first, but with a little bit of DIY spirit, you've managed to create something truly special in your own backyard. Cheers to unleashing your inner DIYer and creating a beautiful retreat right at home.