What installation process is involved with setting up a plunge pool kit?
Posted by on 2024-11-25
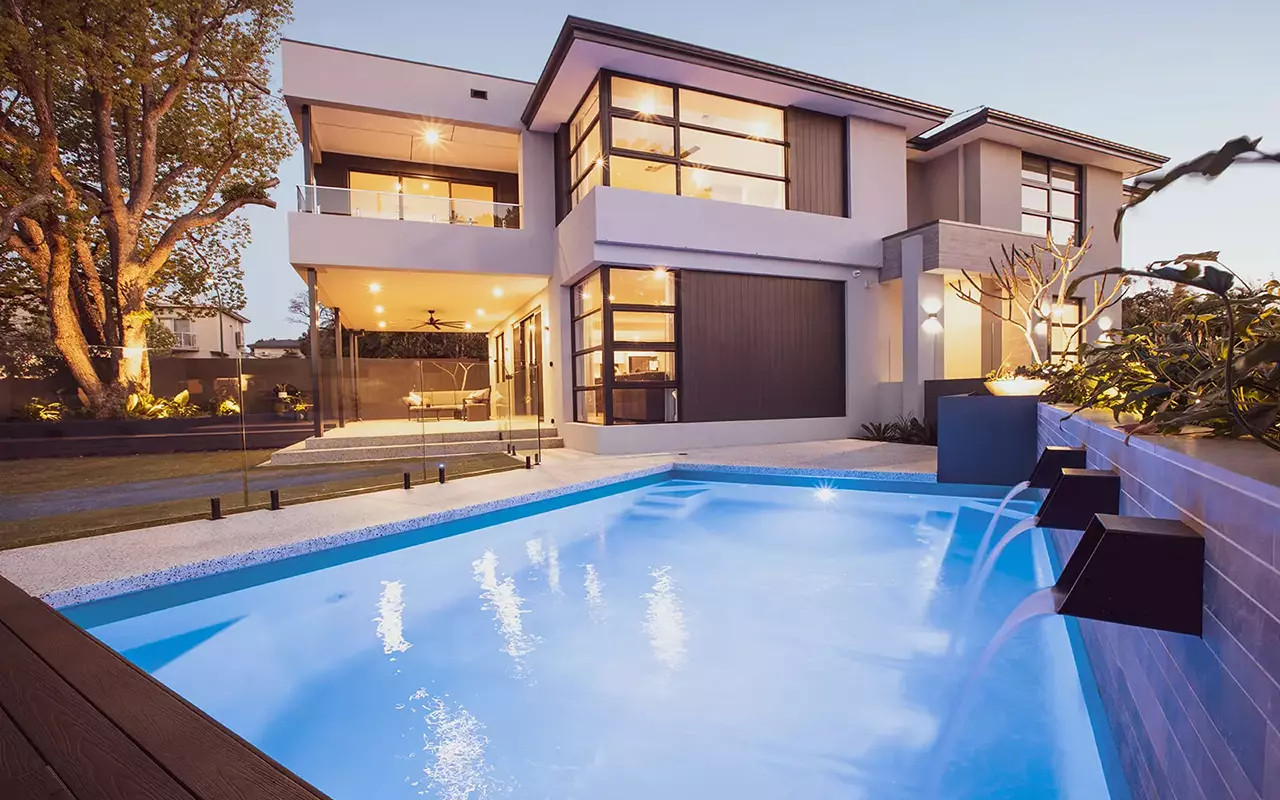
Selecting a suitable location for the plunge pool kit
When it comes to setting up a plunge pool kit, one of the first steps is selecting a suitable location for installation. This involves considering factors such as available space, access to sunlight, proximity to utilities like water and electricity, and the overall aesthetic of the area.
Once a location has been chosen, the actual installation process can begin. This typically involves preparing the ground by leveling it and ensuring that it is stable and able to support the weight of the pool. Depending on the type of plunge pool kit being used, this may also involve digging a hole or constructing a base for the pool to sit on.
Next, the pool itself is assembled according to the manufacturer's instructions. This may involve connecting various components such as panels, pipes, and filters, as well as filling the pool with water and adding any necessary chemicals.
Finally, once everything is in place and working properly, landscaping around the pool can be done to further enhance its appearance and create a relaxing outdoor oasis.
Overall, setting up a plunge pool kit can be a relatively straightforward process with careful planning and attention to detail. By following these steps and taking into account all relevant factors, you can enjoy your new plunge pool for years to come.
Preparing the area by ensuring it is level and free of any debris
Setting up a plunge pool kit involves a series of steps to ensure that the installation process goes smoothly. One of the first tasks is preparing the area where the plunge pool will be placed. This includes making sure that the ground is level and free of any debris that could interfere with the installation process.
Once the area is ready, the next step is assembling the plunge pool kit according to the manufacturer's instructions. This may involve connecting various pieces together, such as the walls and base of the pool, as well as any plumbing or filtration systems that are included in the kit.
After everything is properly assembled, it's time to fill the plunge pool with water. This may require using a hose or other method to add water to the pool until it reaches the desired level.
Finally, once the pool is filled with water, it's important to test all components to make sure they are functioning properly. This includes checking for leaks in the plumbing system and ensuring that all filters and pumps are working correctly.
Overall, setting up a plunge pool kit requires careful attention to detail and following all instructions provided by the manufacturer. With proper preparation and execution, you can enjoy your new plunge pool for years to come.
Assembling the components of the plunge pool kit according to the manufacturer's instructions
Setting up a plunge pool kit involves assembling the components according to the manufacturer's instructions. The installation process typically includes laying out the foundation, placing the walls of the pool, and connecting all the necessary plumbing and electrical components.
First, a suitable location for the plunge pool needs to be chosen and prepared by ensuring a level surface free of any debris or obstacles. Next, the walls of the pool are erected starting from one end and working towards the other, making sure that they are securely fastened together.
Once the walls are in place, the plumbing system is installed by connecting pipes for water intake and drainage. This may involve digging trenches for underground pipes or installing above-ground piping depending on the design of the plunge pool kit.
Finally, electrical components such as lights or pumps are connected following safety guidelines to ensure proper functioning of the plunge pool. Once all components are assembled and connected, the plunge pool is filled with water and tested for leaks or malfunctions.
Overall, setting up a plunge pool kit requires careful attention to detail and adherence to manufacturer's instructions to ensure a successful installation process. With proper planning and execution, homeowners can enjoy their own relaxing retreat right in their backyard.
Installing any necessary plumbing and electrical connections
Setting up a plunge pool kit involves several installation processes, including installing any necessary plumbing and electrical connections.
Firstly, the site where the plunge pool will be placed needs to be prepared. This may involve leveling the ground, ensuring proper drainage, and making sure there is enough space for the pool kit. Once the site is ready, the plunge pool can be assembled according to the manufacturer's instructions.
Installing plumbing connections involves connecting pipes to the pool's filtration system to ensure proper water circulation and cleanliness. This may require digging trenches for underground piping or connecting hoses to above-ground filtration systems.
Electrical connections are also crucial for operating pumps, heaters, and lighting in the plunge pool. This involves wiring the electrical components according to local building codes and safety standards. It may also involve setting up timers or automation systems for controlling various functions of the pool.
Overall, setting up a plunge pool kit requires careful planning and attention to detail. By following all installation processes correctly, you can ensure that your plunge pool is not only functional but also safe and enjoyable for years to come.
Filling the plunge pool with water and testing for leaks or other issues
Setting up a plunge pool kit involves several steps to ensure that it is properly installed and ready for use. One of the key aspects of the installation process is filling the plunge pool with water and testing it for leaks or other issues.
After assembling the plunge pool according to the manufacturer's instructions, the next step is to fill it with water. This can be done using a hose or another source of water. It is important to take care when filling the pool to avoid overfilling or underfilling it.
Once the pool is filled with water, it is essential to test it for any leaks or other issues that may arise. This can be done by carefully inspecting the pool for any signs of water leakage, such as damp spots or puddles around the edges. Additionally, you can run a simple leak test by letting the pool sit for a period of time and checking if the water level remains consistent.
If any leaks or issues are identified during this testing process, they should be addressed immediately to prevent further damage and ensure that the plunge pool functions properly. This may involve repairing any leaks or making adjustments to the pool's setup.
Overall, filling the plunge pool with water and testing it for leaks or other issues is an essential part of setting up a plunge pool kit. By following these steps carefully, you can ensure that your plunge pool is properly installed and ready for use.
Adding any desired accessories, such as a heater or filtration system
Setting up a plunge pool kit involves a few key steps to ensure that your pool is properly installed and ready for use. One important aspect of the installation process is adding any desired accessories, such as a heater or filtration system. These accessories can enhance the functionality and enjoyment of your plunge pool.
When it comes to adding a heater or filtration system to your plunge pool, the installation process will vary depending on the specific model and brand of equipment you choose. However, in general, you will need to follow the manufacturer's instructions carefully to ensure that the accessories are installed correctly and safely.
First, you will need to determine where you want to place the heater or filtration system in relation to your plunge pool. This may involve digging a trench for pipes or electrical wiring, so be sure to check with local building codes and regulations before starting this step.
Once you have determined the location, you can begin installing the accessory according to the manufacturer's instructions. This may involve connecting pipes, wiring electrical components, or securing the equipment in place with brackets or mounts.
After everything is properly installed, be sure to test the heater or filtration system to ensure that it is functioning correctly. You may need to adjust settings or make minor tweaks to get everything working smoothly.
Overall, adding accessories like a heater or filtration system to your plunge pool can enhance its performance and make it more enjoyable for years to come. By following the manufacturer's instructions and taking care during installation, you can enjoy all the benefits of your new plunge pool with confidence.
Regular maintenance tasks, such as cleaning and water testing, to keep the plunge pool in good condition
Setting up a plunge pool kit involves several installation processes to ensure that your pool is properly assembled and ready for use. One of the first steps in setting up a plunge pool kit is to prepare the area where the pool will be placed. This may involve leveling the ground, removing any debris or obstacles, and creating a stable foundation for the pool.
Once the area is prepared, you can begin assembling the various components of the plunge pool kit. This may include connecting the pool walls, installing the filtration system, and adding any additional features such as jets or lighting. It's important to carefully follow the instructions provided with your kit to ensure that everything is assembled correctly.
After all of the components are in place, you will need to fill the pool with water and test it to make sure that everything is working properly. Regular maintenance tasks, such as cleaning and water testing, will also be necessary to keep your plunge pool in good condition.
Overall, setting up a plunge pool kit requires careful attention to detail and following all instructions provided with your kit. With proper installation and maintenance, your plunge pool can provide years of enjoyment for you and your family.